Step 1 — Create AWS Account
- Go to https://aws.amazon.com/ and create an AWS account
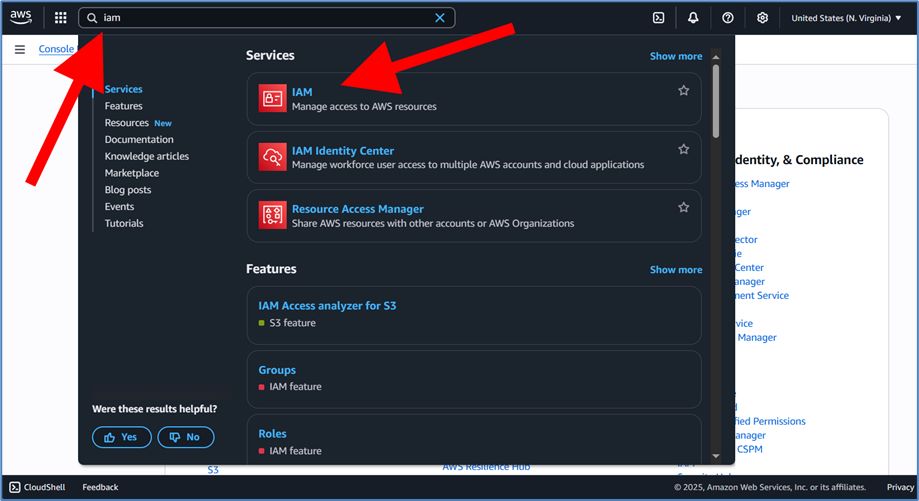
- Access the AWS Console and open the IAM service (search "IAM" then choose "IAM - Manage access to AWS resources")
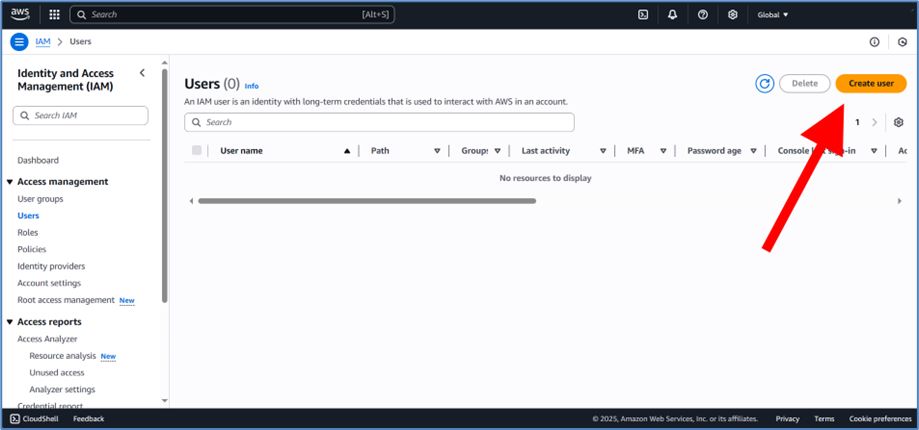
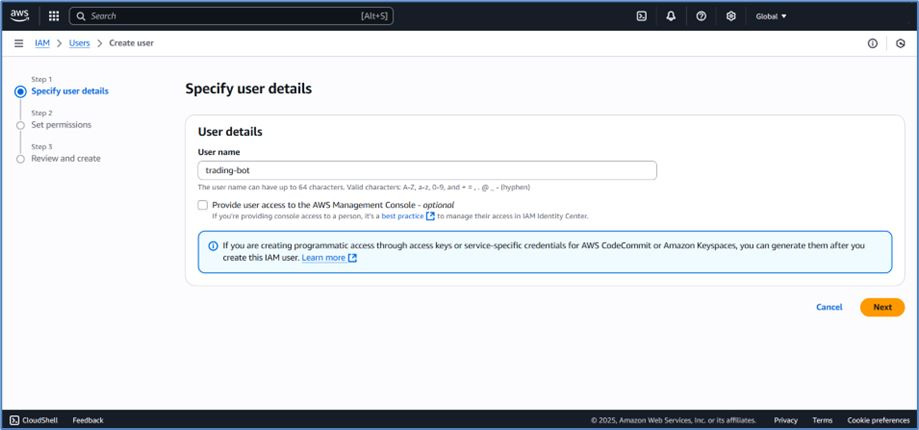
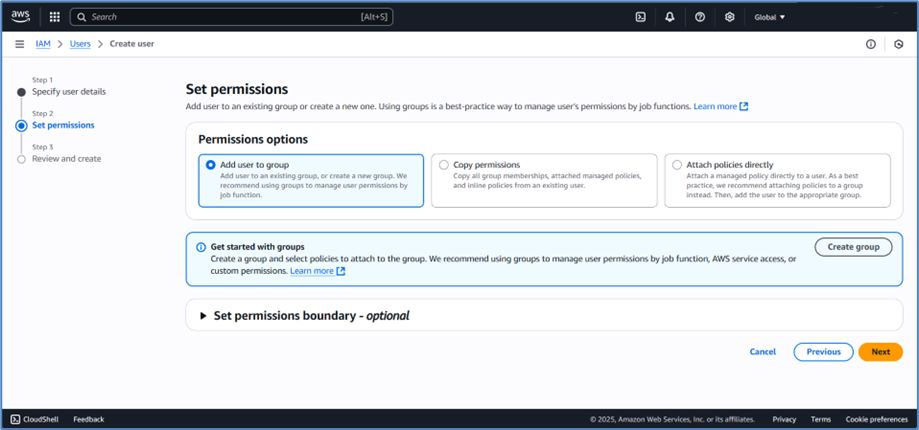
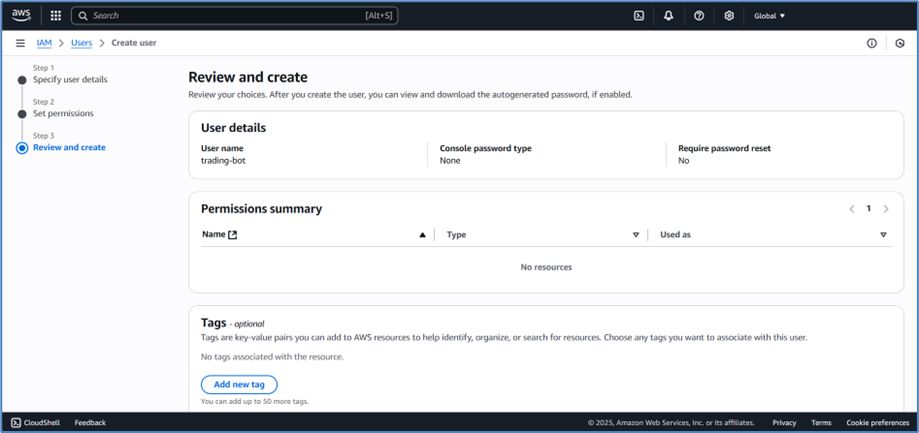
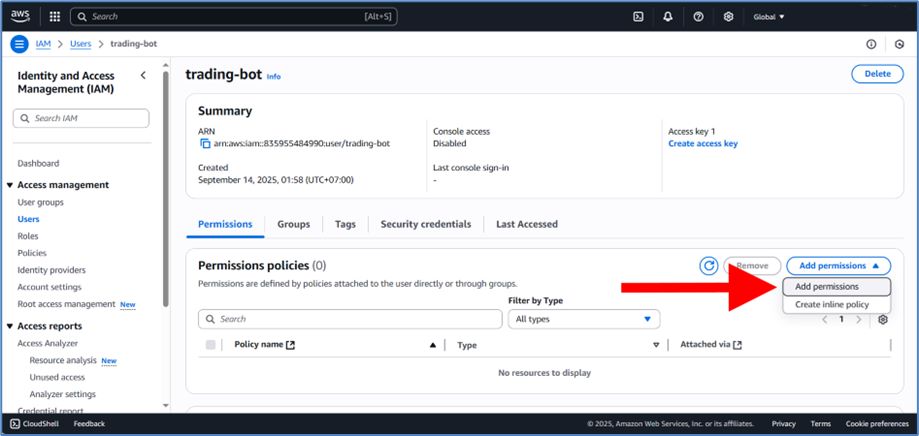
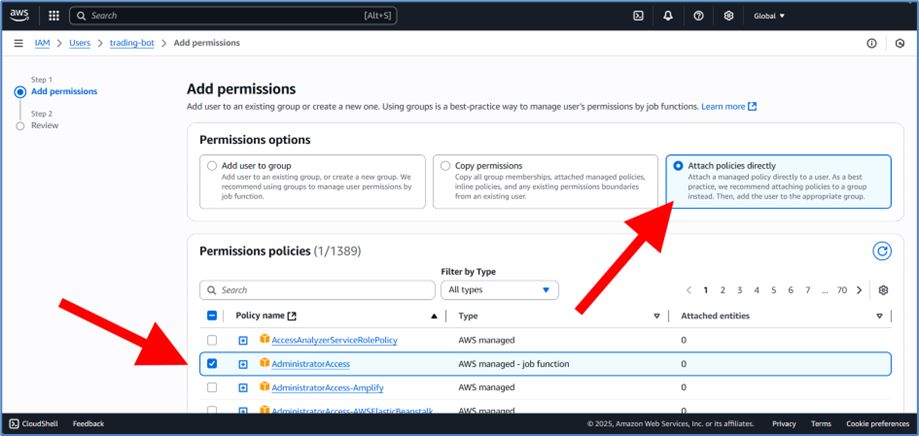
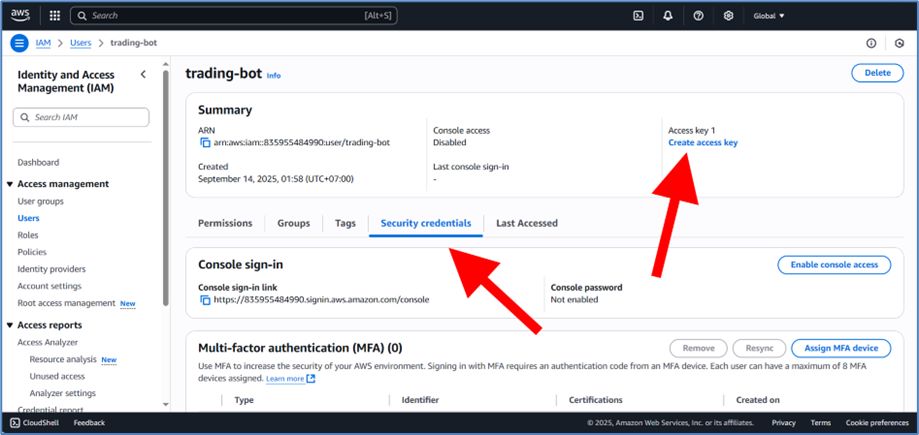
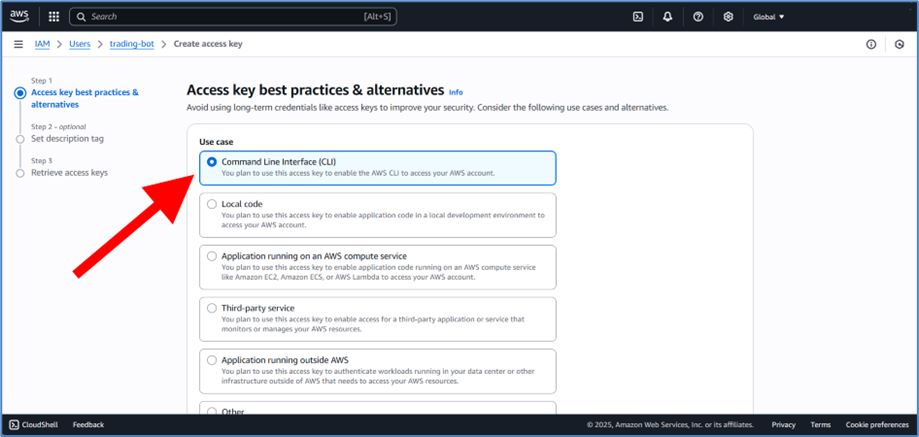
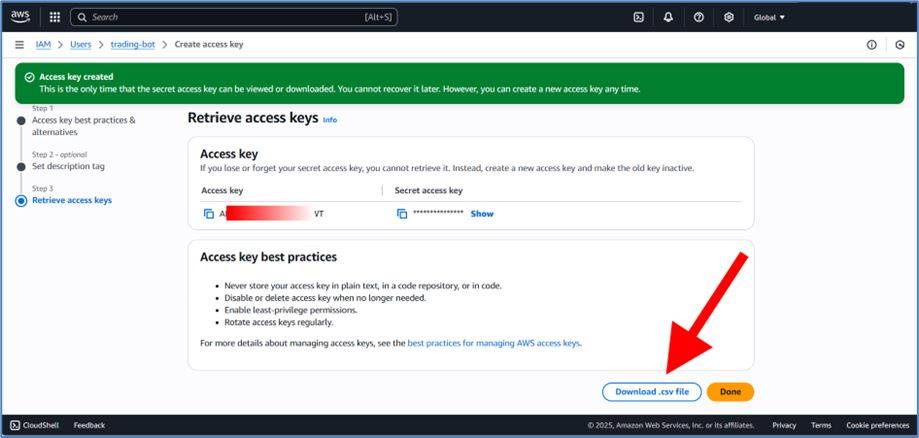
- Create a new IAM user with Programmatic access and download the CSV file containing Access Key ID and Secret Access Key (e.g. trading-bot_accessKeys.csv). Access IAM → Users → Add users Enter “User name”, e.g. trading-bot
Step 2 — Prepare Windows
- Install the AWS CLI following the official guide AWS CLI install or download direct here.
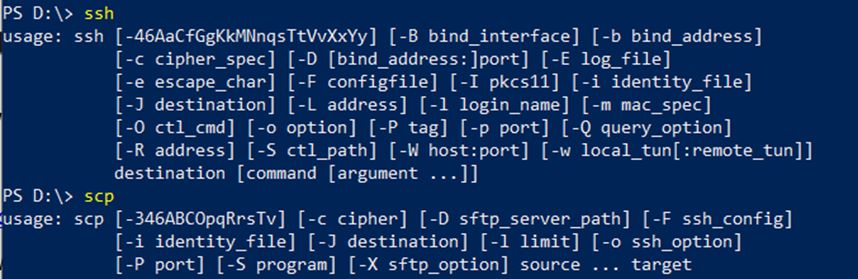
- Verify installation in PowerShell:
aws --version
ssh
scp
Step 3 — Prepare Bot Files
Create a folder C:\Setup and place the following files inside (download Auto Deploy Script for Amazon EC2 Free Tier here):
- bot_manager.ps1
- deploy_bot_full.ps1
- destroy_bot.ps1
- server.bin
- trading-bot_accessKeys.csv
- setup_trading_bot.sh
Step 4 — Run Bot Manager
- Open PowerShell and navigate to the setup folder:
cd C:\Setup
- Allow script execution for this session:
Set-ExecutionPolicy -Scope Process -ExecutionPolicy Bypass
- Run the manager:
.\bot_manager.ps1

Step 5 — Use the Menu
The manager menu provides the following options:
- Deploy Bot — Launch EC2 and install the bot.
- Destroy Bot — Remove the deployed EC2 instance.
- Check Status — Show instance information.
- View Logs — Download last 50 lines of logs.
- Follow Logs — Live logs (use Ctrl+C to stop).
- Start / Stop / Restart service — Manage the systemd service on the instance.
- Update Bot — Upload a new
server.bin. - Rollback Bot — Restore the previous binary version.
Final Notes
- The bot runs as a systemd service (trading_bot.service) on Ubuntu.
- Logs are stored at
/home/ubuntu/trading_bot.log. - The bot restarts automatically after server reboots.
- The PEM key file in C:\Setup is required for SSH access.